
Imagine being able to create a custom action figure of your favorite character or design sleek prototypes for your next big idea. Sounds like magic, right? Well, welcome to the world of 3D printing with Blender. This blend of creativity and technology allows anyone with a bit of vision to turn digital designs into tangible objects. Whether you’re a hobbyist looking to tinker or a professional aiming for perfection, this guide will take you through the ropes of 3D printing with Blender, complete with a sprinkle of humor and a solid dose of expertise.
Understanding 3D Printing
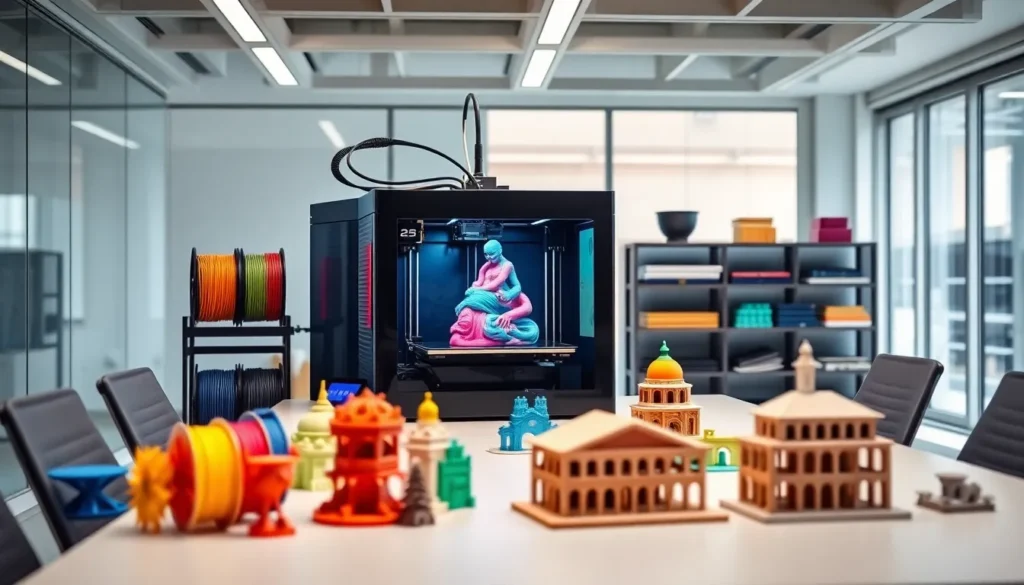
Overview of 3D Printing Technology
3D printing, also known as additive manufacturing, is a process where digital designs turn into physical objects. Using computer-aided design (CAD) software, designers can create intricate models that are brought to life layer by layer. Does that sound like science fiction? It isn’t. This innovative technology has reshaped various industries, from medicine to architecture.
Common 3D Printing Methods
In the vast universe of 3D printing, several methods reign supreme. The most prevalent are Fused Deposition Modeling (FDM), Stereolithography (SLA), and Selective Laser Sintering (SLS). Each method has its unique mechanics, materials, and finishes. While FDM printers lay down filament layer by layer, SLA printers use lasers to cure resin into hardened plastic. Knowing which printing method suits your needs can save headaches down the line.
Benefits of 3D Printing
Why bother with 3D printing, you might wonder? The benefits are multi-faceted. It offers faster prototyping, allowing for rapid testing of designs. Customization is another perk: you can whip up unique pieces tailored to your desires. Plus, it’s often more cost-effective than traditional manufacturing processes, especially for small runs. Who doesn’t want to save some cash while indulging in creativity?
Getting Started With Blender
Installing Blender
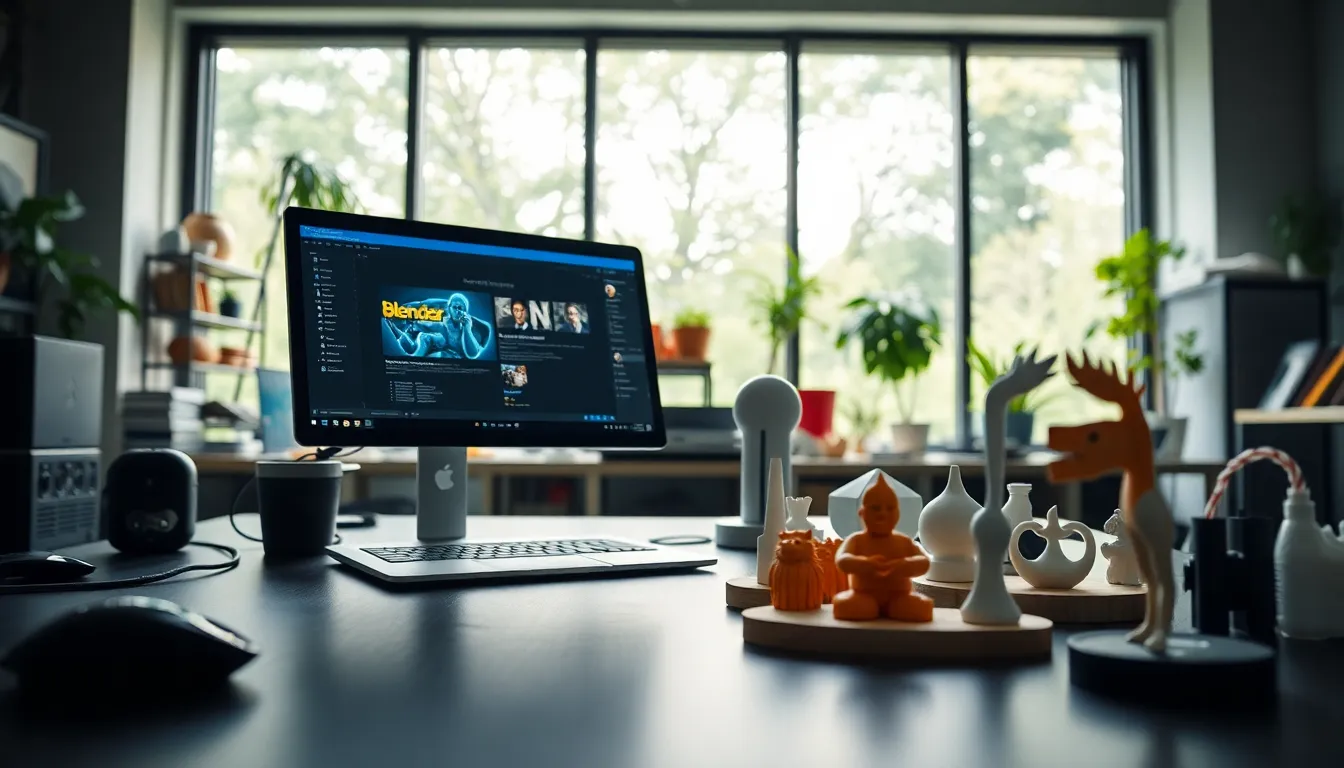
To jump into the world of 3D printing using Blender, you need to get the software first. Hop over to Blender’s official website, download the suitable version for your operating system, and install it. It’s free, making it easy on the pockets.
Blender Interface Overview
Upon opening Blender, newcomers often feel overwhelmed by the interface. Fear not. The layout includes key areas like the viewport for 3D modeling, the properties panel for adjusting settings, and the timeline for animation. Don’t rush it: take your time to familiarize yourself with the tools and layouts. Getting comfortable here will pay off in spades.
Essential Tools for 3D Printing in Blender
Now that the software is installed, it’s time to tap into tools specifically designed for 3D printing. The addons you’ll want to keep an eye on include the 3D Print Toolbox and Print Settings, which assist in analyzing your models and preparing them for printing. Familiarize yourself with these features to enhance your workflow.
Designing 3D Models for Printing
Best Practices for 3D Model Creation
Creating stunning 3D models for printing isn’t witchcraft, just follow some best practices. Keep your designs manifold, meaning everything should be a solid structure with no holes or internal faces. This prevents printing headaches later on. Also, remember to maintain proper scale: resizing after designing can throw a wrench in your plans.
Optimizing Models for 3D Printing
Optimization isn’t just for search engines, it’s crucial for 3D printing too. Consider reducing the polygon count to enhance your print quality and speed. Besides, always consider wall thickness to ensure your prints are sturdy yet lightweight. It’s like the Goldilocks principle, everything needs to be just right.
Exporting Models from Blender
File Formats for 3D Printing
After designing, it’s time to export your masterpiece. Common file formats for 3D printing include STL, OBJ, and AMF. Among these, STL is the most widely accepted format accepted by printer software, making it a safe bet.
How to Export Your Model Properly
To export your model, select it in the viewport, go to File > Export, and choose your format. Make sure to check the export settings carefully. Calibration issues can arise if your units aren’t consistent, so double-check that settings reflect your design correctly.
3D Printing Workflow Steps
Preparing Your Model for Printing
With your model ready and exported, it’s time to prepare it for printing. This step typically involves loading your STL file into slicing software, where you can adjust settings like layer height, infill percentage, and print speed. Each print may demand different settings, so don’t treat this lightly.
Choosing the Right Printer and Material
Selecting the right printer is like picking the perfect kitchen appliance. If you want the best results, it’s worth investing in quality. Decide whether you’ll use an FDM or SLA printer based on your project needs. Also, choose material wisely: PLA works wonderfully for beginners, while ABS could be better for experienced users seeking strength.
Post-Processing Techniques for 3D Prints
Cleaning and Finishing Your Prints
Once the 3D printer has worked its magic, it’s showtime. Post-processing enhances the final result. Start with cleaning your print to remove support structures and any remaining material. Sanding, painting or applying coatings can elevate your design from good to jaw-droppingly impressive. Just remember, a little finesse goes a long way.
Troubleshooting Common 3D Printing Issues
When venturing into the realm of 3D printing, issues are bound to arise. Clogged nozzles, uneven layering, and warping are only a few challenges that many face. If a print fails, don’t panic. Analyze the problem, check your settings, and always be ready to adapt. Nearly every issue has a solution that will eventually make you a more competent and resilient designer.